Harvest, Post-Harvest, and Storage
Module 1: Harvest, Post-Harvest and Storage Course

1:51:21
Lesson 1: Your Successful Harvest System
1:19:15
Lesson 2: Design Your Perfect Post-Harvest Wash or Pack Area
1:19:19
Lesson 3: Reviewing Wash & Pack Designs

1:32:17
Lesson 4: Cooling and Product Storage

1:03:19
Lesson 5: Food Safety (Wash-Pack-Storage)
1:37:46
Lesson 6: WPS with Paul Arnold
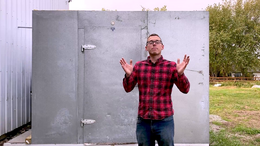
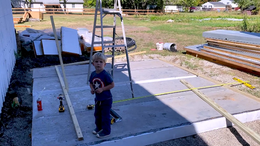
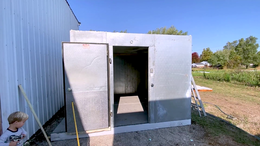
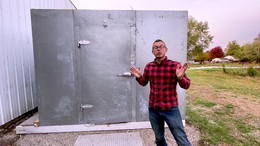
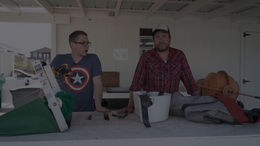
Module 2: Walk-In Cooler Build
5:01
Lesson 1: 4 Tips for Success
12:32
Lesson 2: Site Consideration and Building the Box
Lesson 3: How to Size A Cooler
7:50
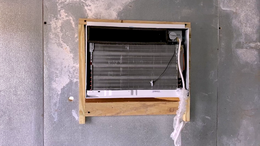
Lesson 4: Installing the Air Conditioner
4:35
Lesson 5: Electrical Considerations
2:54
Lesson 6: Walk In Cooler Wrap up
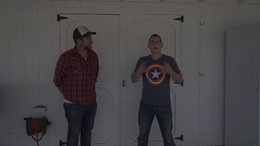
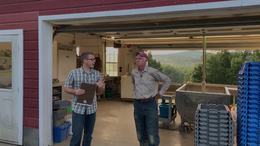
Module 3: Steadfast Farm with Erich Shultz
25:08
Lesson 1: Interview with Erich Shultz
7:26
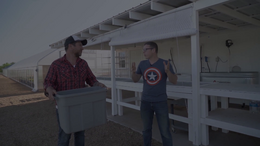
Lesson 2: Field Setup
15:06
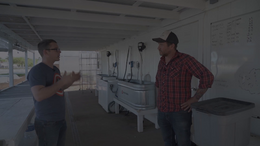
Lesson 3: Wash Pack Area
7:02
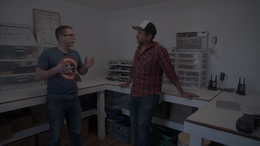
Lesson 4: Packing Room
4:07
Lesson 5: Tools & Supplies
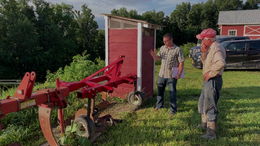
Module 4: Pleasant Valley Farm with Paul Arnold
13:02
Lesson 1: Paul Arnold’s Washing Shed Walkthrough 1

12:21
Lesson 2: Paul Arnold’s Washing Shed Walkthrough 2
1:26
Lesson 3: Paul Arnold’s Washing Shed Walkthrough 3

5:53
Lesson 4: Paul Arnold’s Crates
2:42
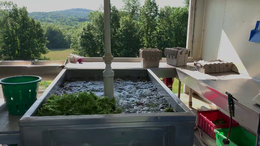
Lesson 5: Paul Arnold's Washing Lettuce Mix
4:19
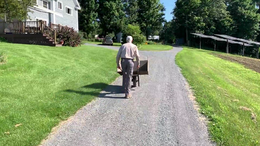
Lesson 6: Paul Arnold's Harvesting Lettuce
1:12
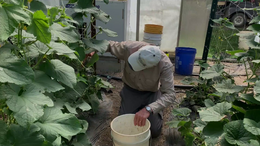
Lesson 7: Paul Arnold's Harvesting Cucumbers
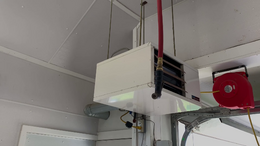
1:19
Lesson 8: Paul Arnold's Heater