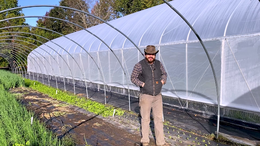
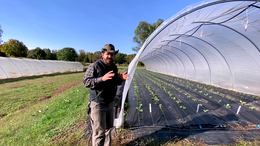
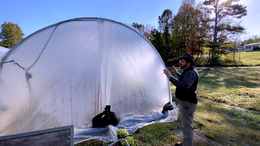
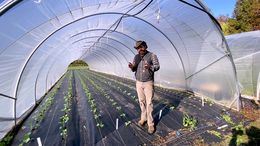
Caterpillar Tunnel Success
Module 1: Introduction and Set Up
3:41
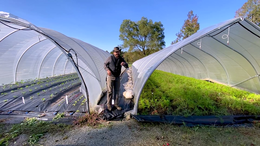
Lesson 1: Caterpillar Tunnel vs. High Tunnel
1:32
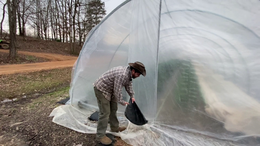
Lesson 2: Using Double Poly on Caterpillar

5:08
Lesson 3: Heating Caterpillars

1:27
Lesson 4: Placing Tunnels
4:22
Lesson 5: End Design
1:43
Lesson 6: Automating Caterpillar Tunnels
1:15
Lesson 7: Gothic Vs Quonset
4:20
Lesson 8: Tunnel Spacing and Field Preparation
2:52
Lesson 9: Tunnel Size and Bed Setup
1:59
Lesson 10: Grading Around Tunnels
5:28
Lesson 11: BONUS: End Design Examples
Module 2: Building Your Tunnel

1:30
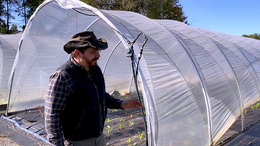
Lesson 1: Prepping the Site

1:47
Lesson 2: The Kit

2:12
Lesson 3: Tools

1:12
Lesson 4: Laying it Out

2:17
Lesson 5: The Bows

1:15
Lesson 6: The Stakes

4:11
Lesson 7: Line it Up

3:56
Lesson 8 : Pounding the Stakes

3:51
Lesson 9: The Braces

3:52
Lesson 10: Center Purlin

5:16
Lesson 11: Wiggle Wire Track

3:44
Lesson 12: Poly

3:39
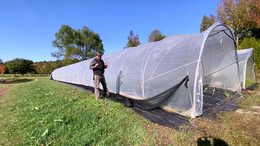
Lesson 13: Tying Down The Poly
Module 3: Management
3:01
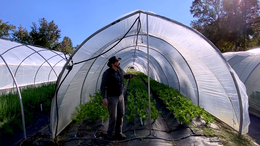
Lesson 1: Venting Tunnels

6:18
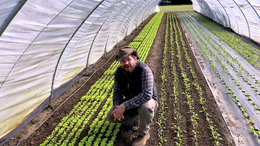
Lesson 2: Crop Rotations
2:14
Lesson 3: No-Till Introduction
11:59
Lesson 4: No-Till Deep Dive
1:20
Lesson 5: Row Cover

1:21
Lesson 6: Shade Cloth
6:32
Lesson 7: Soil Health and Fertility

3:42
Lesson 8: Biofumigation
4:27
Lesson 9: Weeds and Groundcloth

20:21
Lesson 10: Dealing with Wind

9:19
Lesson 11: Row Cover Management
Module 4: Crops

4:36
Lesson 1: Peppers
Lesson 2: Eggplant

2:55
Lesson 3: Cilantro
3:54
Lesson 4: Bunching Greens
6:21
Lesson 5: Carrots

2:10
Lesson 6: Turnip
7:03
Lesson 7: Celery
7:20
Lesson 8: Lettuce

2:45
Lesson 9: Scallions

3:05
Lesson 10: Radish

11:18
Lesson 11: Arugula

10:13
Lesson 12: Cucumber

12:12
Lesson 13: Spinach
Module 5: Irrigation
5:20
Lesson 1: Irrigation Overview
15:03
Lesson 2: Overhead Irrigation Setup

13:22
Lesson 3: Drip System Setup