Winter Growing Success
Module 1: Introduction and Winter Basics
5:42
Lesson 2: Why Winter Growing
14:49
Lesson 3: 5 Principles of Winter Production
Module 2: Growing Structures and Design
7:25
Lesson 1: Tunnel Design and Construction
4:00
Lesson 2: Low Tunnels
4:31
Lesson 3: Haygrove
11:35
Lesson 4: Hoop Houses
5:30
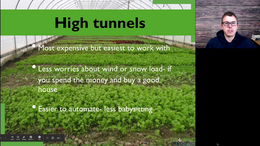
Lesson 5: High Tunnels
3:52
Lesson 6: Movable Houses
3:22
Lesson 7: Multi-Bay Structures
Module 3: Tunnel Design
8:00
Lesson 1: Principles of Design
8:57
Lesson 2: Ventilation
7:53
Lesson 3: Dealing with Snow and Wind
5:05
Lesson 4: Endwall Options
1:28
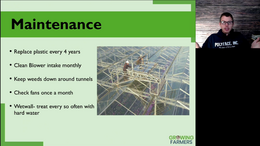
Lesson 5: Maintenance
4:49
Lesson 6: Covering Options
Module 4: Your Winter Growing System
6:37
Lesson 1: Fertility and Soil
7:19
Lesson 2: Planting Systems
6:49
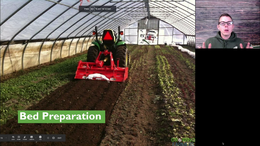
Lesson 3: Soil Prep
4:47
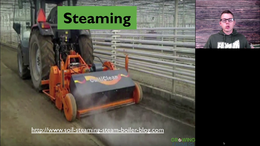
Lesson 4: Steaming
6:38
Lesson 5: Seeding
6:54
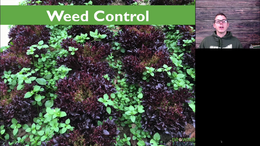
Lesson 6: Weed Control
5:27
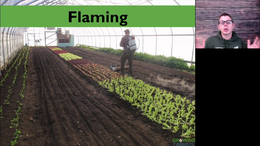
Lesson 7: Flaming for Weed Control
4:22
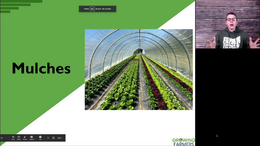
Lesson 8: Mulches
9:57
Lesson 9: Irrigation

7:35
Lesson 10: Row Cover
Module 5: Crops
3:39
Lesson 1: Introduction to Crops
1:36
Lesson 2: Arugula
4:39
Lesson 3: Asian Greens
5:55
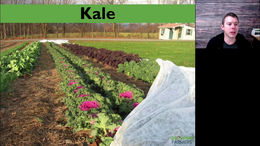
Lesson 4: Kale
7:00
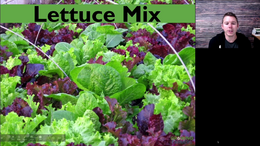
Lesson 5: Lettuce Mix
9:25
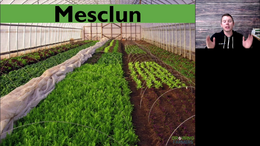
Lesson 6: Mesclun
11:15
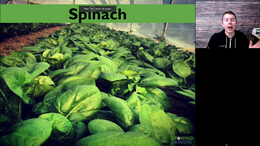
Lesson 7: Spinach
3:39
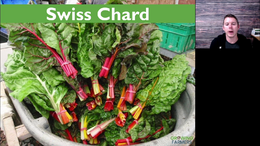
Lesson 8: Swiss Chard
4:49
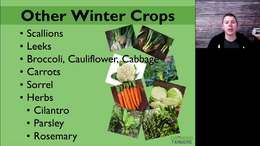
Lesson 9: Other Winter Crops
Module 6: Heating Systems
9:00
Lesson 1: Intro to Heating
5:15
Lesson 2: Heat Delivery Methods
11:26
Lesson 3: Common Types of Heating
13:27
Lesson 4: Alternative Heating Systems
4:08
Lesson 5: Heated Benches
3:02
Lesson 6: Final Thoughts