SFU RIPEN Formula For Success
Module 1: The RIPEN Formula for Success

1:08:28
Lesson 1: The Ripen Workshop: 5 Pillars for a Successful Farm

5:05
Lesson 2: Are you headed for success or failure?
7:49
Lesson 3: Five stages of a farm
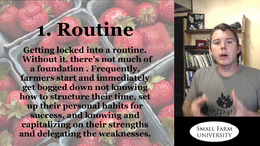
Module 2: Routine (setting yourself up for success)
13:20
Lesson 1: Building your own routine

10:29
Lesson 2: Apps for farm management
10:28
Lesson 3: How to Batch for bigger Results

1:55
Lesson 4: Setting your week up for success

10:20
Lesson 5: The power of mindset and breaking limiting beliefs
Module 3: Innovate (building a sustainable business model)
7:57
Lesson 1: Invent your business

13:30
Lesson 2: Is wholesale for you?
6:44
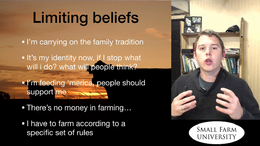
Lesson 3: Limiting beliefs

9:48
Lesson 4: Evaluating profitability

14:39
Lesson 5: Tips for Farm Insurance
Module 4: Production Mastery (learning to grow better)
8:26
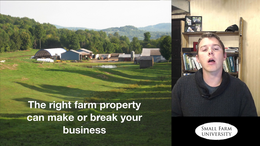
Lesson 1: Finding the right farm property
23:08
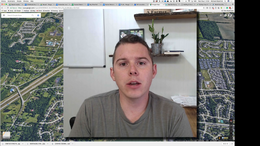
Lesson 2: 7 online tools for evaluating property
4:57
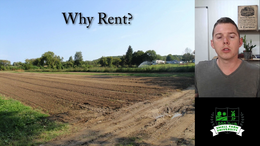
Lesson 3: Tips for renting or leasing land
4:07
Lesson 4: Introduction to Growing Healthy Plants

5:53
Lesson 5: Soil tests
26:35
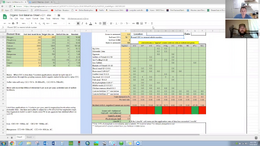
Lesson 6: Organic Soil Calculator
4:57
Lesson 7: Bagged Fertilizer Solutions
9:40
Lesson 8: What's the deal with compost?
9:20
Lesson 9: Crop Rotation
9:11
Lesson 10: Cover Crops
8:34
Lesson 11: Fighting Disease and Insects
1:38
Lesson 12: Disease and resource guides
1:15
Lesson 13: Master Resource sheet
7:43
Lesson 14: Thoughts and Tips on using a Seeder
4:51
Lesson 15: Taking a soil test- 2 ways
Module 5: Engine (making the farm work)
3:15
Lesson 1: How Farms Start
7:39
Lesson 2: Our History With Hiring
7:20
Lesson 3: What Type Of Employee Do You Need?
12:22
Lesson 4: The Hiring Process
8:06
Lesson 5: Training Employees
6:58
Lesson 6: Why Systems
6:09
Lesson 7: Writing Those SOP's
6:19
Lesson 8: SOP Examples - How To Manage Employees
14:35
Lesson 9: How To Manage Employees When Scaling The Company
12:01
Lesson 10: Scaling The Company and Employee Problems

8:29
Lesson 11: Employee Problems
Module 6: Needs (marketing to your customers)

6:11
Lesson 1: Start with Why

7:46
Lesson 2: Develop your Storybrand
9:56
Lesson 3: Who is your Customer?
8:58
Lesson 4: Branding your farm- is it important?

6:05
Lesson 5: Words are important- the basics of copywriting
5:21
Lesson 6: A Premium Product
7:15
Lesson 7: Building strong customer relationships
5:03
Lesson 8: Educate your Customers

3:27
Lesson 9: What Media Channels should I use?
14:14
Lesson 10: Your Farm Website
4:49
Lesson 11: Should you Blog?
8:18
Lesson 12: Email Newsletters
3:11
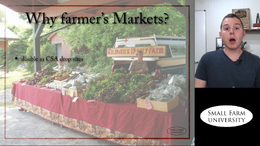
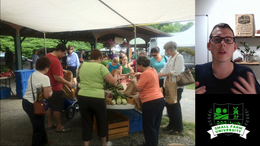
Lesson 13: Why Farmers Markets

9:27
Lesson 14: Farmers markets - 10 tips to double sales

9:45
Lesson 15: Should I have a CSA?

11:47
Lesson 16: CSA is broken - here's how we fix it

15:08
Lesson 17: Selling to Chefs
8:47
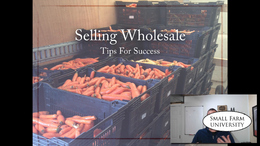
Lesson 18: Tips for wholesale success
7:13
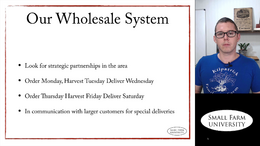
Lesson 19: Our wholesale system
2:46
Lesson 20: Buying clubs and online stores

10:31
Lesson 21: Accepting credit and bank transfers
1:40
Lesson 22: Summary
2:58
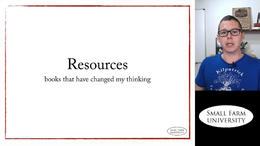
Lesson 23: Resources
1:59
Lesson 24: Round tables for the win
Module 7: Harvest and Wash Tutorials
Resources

2:09
Lesson 1: Which Harvest Knife to Choose. Never Lose your Knife Again!

1:06
Lesson 2: Stay Sharp Out There! Sharpening Knives Before Harvest

4:54
Lesson 3: Harvesting Swiss Chard - Knifing vs Breaking

4:20
Lesson 4: Kale-ing it - Tips for Harvesting Kale

4:31
Lesson 5: Harvesting Head Lettuce - Tips and Tricks out the Wazoo

1:42
Lesson 6: Oh Baby! Harvesting Baby Greens by Hand

1:57
Lesson 7: Harvesting Baby Greens - Quick Cut Greens Harvesting

3:54
Lesson 8: Harvesting Tomatoes - The How and the When

2:30
Lesson 9: Harvesting Cherry Tomatoes - 2 Buckets for 2 Hands!

1:36
Lesson 10: Sort It Out! How to Sort Tomatoes After Harvest

0:47
Lesson 11: Harvesting Storage Crops

2:04
Lesson 12: Digging Carrots - How to Make ‘Em Pop

3:00
Lesson 13: Bunching Carrots

2:51
Lesson 14: Harvesting Squash - Keeping Quality High
10:39
Lesson 15: Harvesting Squash 2021 Update

2:33
Lesson 16: Bulk Turnips for Winter Storage - Just Like Grandma Taught Us

3:26
Lesson 17: Bunching Turnips and Radishes like a Ninja
Module 8: Harvest & Wash Tutorials - Washing

3:12
Lesson 1: Rollin’ Product Through the Pack House

1:14
Lesson 2: Washing Greens

1:07
Lesson 3: Draining Lettuce

0:55
Lesson 4: Cleaning and Washing Squash

2:04
Lesson 5: Cleaning Turnips, Radishes, and Beets

4:24
Lesson 6: Cleaning Bulk Carrots

2:52
Lesson 7: Washing Turnips, Carrots, and Kale
Module 9a: Crop Planning
6:41
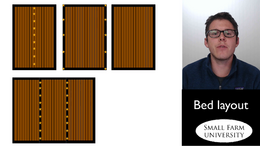
Lesson 1: Field and Bed configuration

1:32:18
Lesson 2: Crop Planning with Daniel Brisebois
Module 9b: 7 Keys for a Successful Crop Plan
5:00
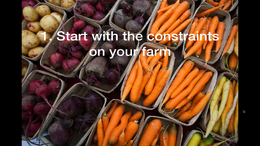
Lesson 1: Start with the constraints

6:56
Lesson 2: Record Keeping is King

6:32
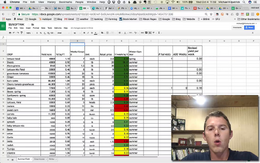
Lesson 3: What to grow- basic profitability
5:11
Lesson 4: Detailed Numbers- $$/SF/Week
2:04
Lesson 5: Other ways to look at profitability
3:20
Lesson 6: Limit your selection
4:45
Lesson 7: Plant early, plant often

4:20
Lesson 8: Optionality
6:24
Lesson 9: Spend the time
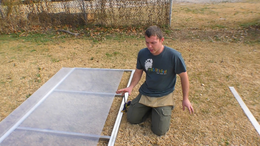
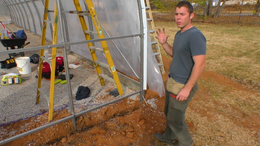
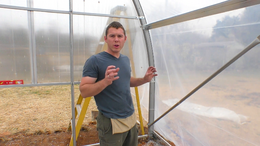
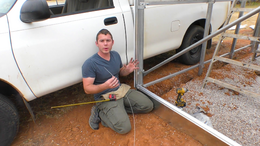
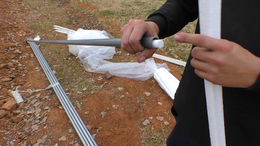
Module 10: Greenhouse Construction Primer
4:28
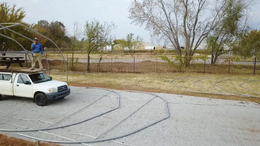
Lesson 1: Introduction: Squaring and Leveling the Tunnel
1:11
Lesson 2: Supporting Infrastructure for Building
1:26
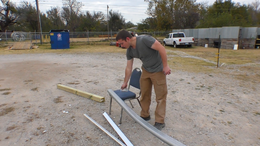
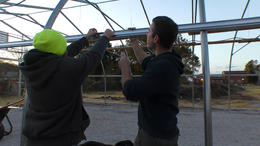
Lesson 3: Bow Assembly
2:24
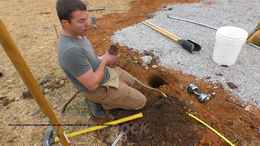
Lesson 4: Post Pounding
0:48
Lesson 5: Dealing with Rocks
1:16
Lesson 6: Bow Raising
6:26
Lesson 7: End Bow Assembly
1:12
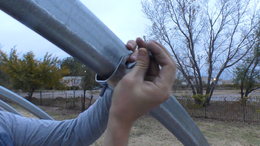
Lesson 8: Attach Brace
4:25
Lesson 9: Plumbing and Bracing the Tunnel
0:55
Lesson 10: Flashing Description

3:18
Lesson 11: Installing Hip Board
3:31
Lesson 12: Installing End Uprights
1:52
Lesson 13: End Square Tubing Attach

2:02
Lesson 14: Door Track Install
2:22
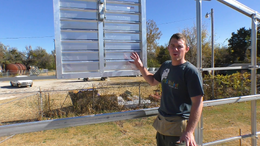
Lesson 15: Door Frame Install
0:59
Lesson 16: Door Slider Assembly
0:47
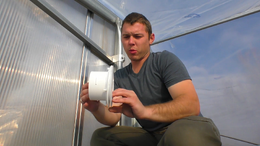
Lesson 17: Positive Pressure Fan Frame Fan Shroud
1:53
Lesson 18: Fan Shroud
5:37
Lesson 19: Door Assembly
0:30
Lesson 20: Vent Shutter
2:56
Lesson 21: Plastic Install
2:25
Lesson 22: Install Inflation System
5:25
Lesson 23: Installing Polycarbonate Sheets
4:37
Lesson 24: Installing Wind Screens
3:30
Lesson 25: Installing Knee Wall
2:40
Lesson 26: Rollup Side Install

5:24
Lesson 27: Installing Auto-Rollups
Module 13: Q + A and Office Hour Sessions
57:03
Q&A Jun 17 2021 with farmstand presentation
1:13:15
Q&A Jun 3 2021
43:43
Q&A May 20 2021

9:46
Q&A May 6 2021
36:37
Q&A Apr 28 2021

48:30
Q&A Mar 25 2021

53:31
Q&A Mar 11 2021
1:00:39
Q&A Mar 3 2021

55:06
Ask Me Anything Q&A Feb 17 2021

57:06
Q&A Feb 11 2021

1:27:05
Q&A Jan 28 2021
1:03:48
Q&A Jan 14 2021
46:35
Q&A Dec 3 2020

55:55
Q&A Nov 5 2020
1:09:53
Q&A Oct 22 2020

50:23
Q&A Oct 8 2020
48:55
Q&A Sep 24 2020

43:45
Q&A Sep 10 2020
49:42
Q&A Aug 27 2020

1:08:11
Q&A Aug 13 2020

45:21
Q&A Jul 31 2020
34:02
Q&A Jul 16 2020

55:10
Q&A Jun 25 2020

43:41
Q&A Jun 12 2020

48:23
Q&A May 21 2020
31:44
Q&A May 7 2020

41:19
Office Hours Mar 24 2020
49:53
Q&A Apr 21 2020

44:12
Office Hours Apr 7 2020

48:35
Office Hours Mar 11 2020
57:09
Office Hours Feb 27 2020

44:53
Office Hours Feb 12 2020 Soil Test Review

57:48
Office Hours Jan 27 2020

31:41
Office Hours Jan 17 2020
Module 14: Laser Coaching Sessions
27:44
LCS May 7 2020
29:12
LCS Apr 30 2020

26:03
LCS Apr 24 2020

57:58
LCS Jun 2019 - Joe and Carrie

1:34:37
LCS May 2 2019 - Courtney and Kelby
1:15:49
LCS Nov 2018 - Samuel and Daniel

1:04:31
LCS Apr 2019 - Crystal Spring, Angela, and Sweet Tea

1:04:51
LCS Apr 2019 - Lawrence and John
1:16:07
LCS Mar 2019 - Nathanael, Nachiket, and Jake

1:43:33
LCS Feb 2019 - Joel, Chris, and Amy

1:09:43
LCS Jan 2019 - Natalie&Carey, Tyler, and Ethan

1:36:21
Jan 2019 - Lynn, Kate, and Jordan
1:17:29
LCS Dec 2018 - Audrey, Erin, and Paul

1:50:31
LCS Nov 2018 - Membership Preview Sessions