Dry Your Greens
Module 1: Introduction and Machine Conversion

0:49
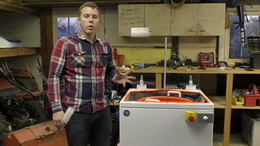
Lesson 1: Introduction!
4:16
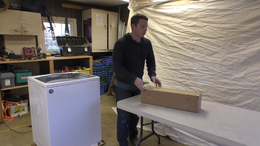
Lesson 2: Unpacking the Kit
1:28
Lesson 3: Will This Machine Convert?
1:44
Lesson 4: Will This Machine Convert Part 2
2:02
Lesson 5: What do you do if your machine has a center agitator?
Lesson 6: Have An Old Style Maytag or Whirlpool?
0:47
Lesson 7: Machine stuck in agitator mode?
Lesson 8: Have a WP8314869 Motor?
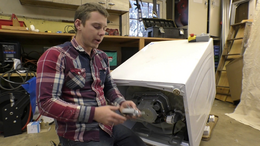
Module 2: Demolition and Safety Info
6:45
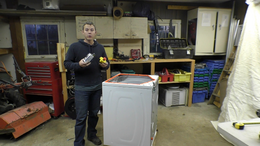
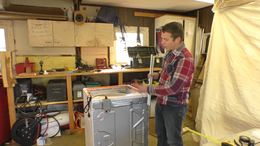
Lesson 1: Demolition
0:53
Lesson 2: Splitting the Hose
3:25
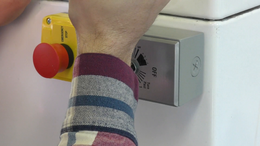
Lesson 3: Safety Hose Installation
Module 3: Basket Guides
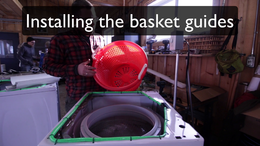
7:14
Lesson 1: Installing Basket Guides
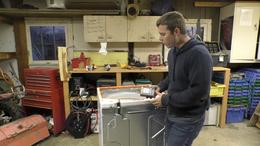
Module 4: Electrical Wiring for Front Mounted Switch
1:03
Lesson 1: Introduction!
6:33
Lesson 2: Wiring- Prep and Cutting the Back Open
5:01
Lesson 3: Front Box Prep, Running Wires, and BackBbox Installation
1:30
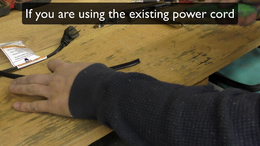
Lesson 4: Prepping the Power Cord
3:10
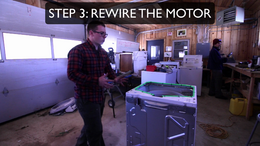
Lesson 5: Wiring the Back Box
9:12
Lesson 6: Front Box Attachment and Wiring
2:00
Lesson 7: Finishing and Weatherproofing Electrical System
Module 5: Electrical Wiring for Rear Mounted Switch
10:46
Lesson 1: Wiring Rear Switch Specifics
Module 6: Adding a Lid for Safety
1:31
Lesson 1: Attaching the Lid Support
6:56
Lesson 2: Attaching the Lid
Module 7: Adding Wheels for Mobility
1:07
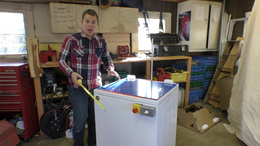
Lesson 1: Wheel Installation
Module 8: DYG Bonuses
1:30
Lesson 1: Food Safety
0:28
Lesson 2: Attaching a Drain Hose
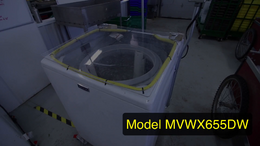
1:02
Lesson 3: Model Maytag 655
Lesson 4: Slides from Wash/Pack Talk
1:41
Lesson 5: Kilpatrick Family Farm Greens Line